What's new
Club Scuderia

This is a sample guest message. Register a free account today to become a member! Once signed in, you'll be able to participate on this site by adding your own topics and posts, as well as connect with other members through your own private inbox!

  • Please take a minute to read this thread about our recent server issues and forum platform Switch

F355 - How to adjust headlights for European driving

GrahamS

Administrator
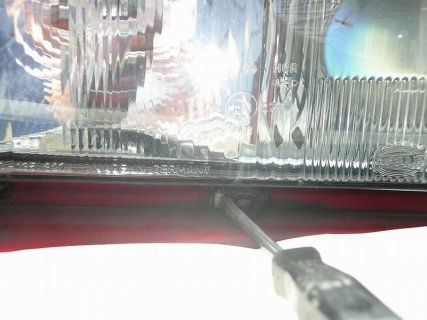
Thought I'd share with you the procedure for adjusting your headlights for driving on the right hand side of the road e.g. the rest of the Europe.

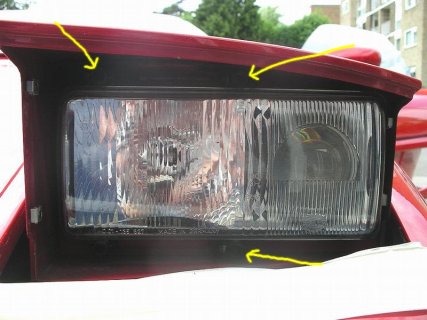
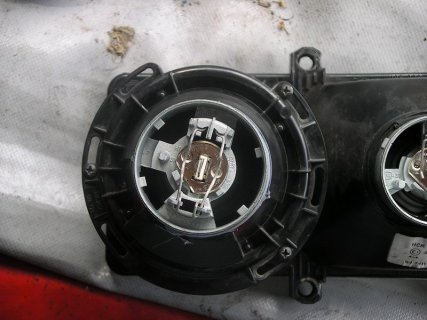
It's also useful if you just want to change a bulb and need to know how to get the headlight unit out

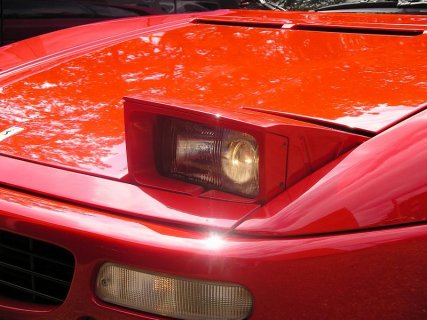
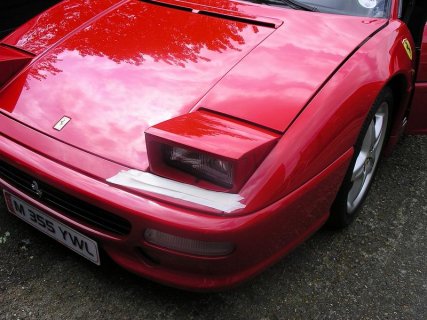
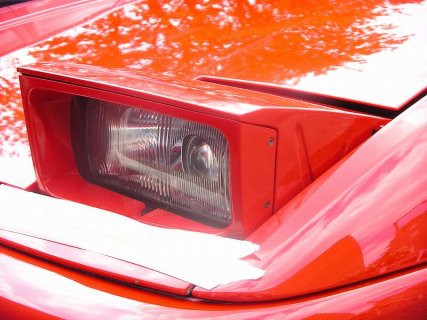
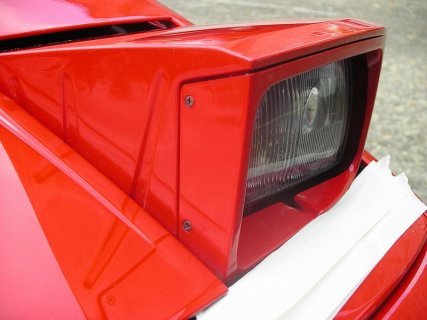
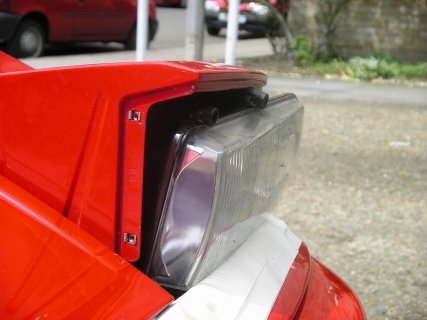
Pic 1: Pop up the headlights
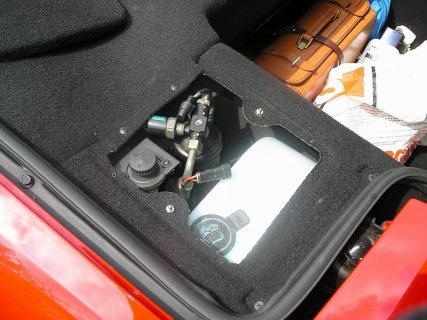
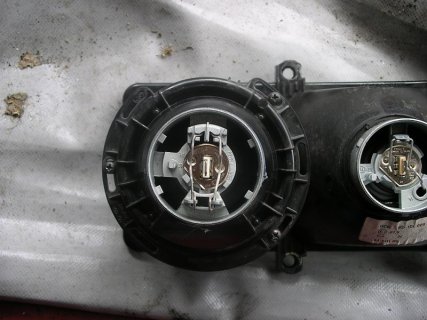
Pic 2: Disconnect the battery
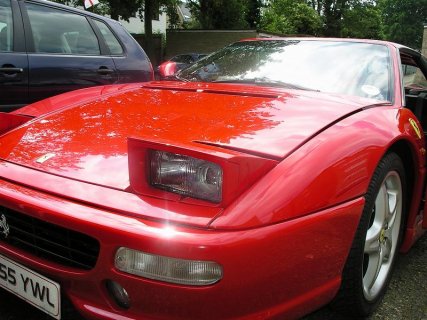
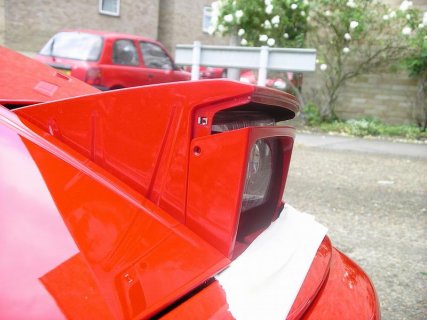
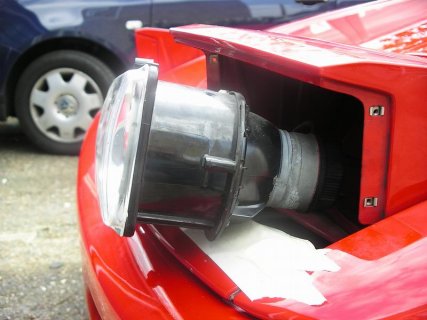
Pic 3: Headlights stay up without flattening your battery :thumbsup:
 

Attachments

  • IMGP2903.JPG
    IMGP2903.JPG
    99 KB · Views: 2,909
  • IMGP2904.JPG
    IMGP2904.JPG
    115.5 KB · Views: 3,312
  • IMGP2905.JPG
    IMGP2905.JPG
    113.4 KB · Views: 2,573
Fix loads of masking tape to the bodywork. This prevents you scratching your paintwork during the removal procedure.

Apply at least 3 or 4 layers of masking tape
 

Attachments

  • IMGP2906.JPG
    IMGP2906.JPG
    108.7 KB · Views: 1,920
Next remove the headlight surround. There's two screws on each side. Once these are undone the surround is removed by pushing downwards. It can now be removed
 

Attachments

  • IMGP2909.JPG
    IMGP2909.JPG
    90.4 KB · Views: 1,888
  • IMGP2910.JPG
    IMGP2910.JPG
    65.8 KB · Views: 1,832
  • IMGP2912.JPG
    IMGP2912.JPG
    73.9 KB · Views: 1,861
Headlight is held in place by 3 clips, 2 at the top and 1 at the bottom.

Using a flat screwdriver push the clip to one side and pull forward on the headlight. Once you've done this with all 3 clips the headlight will now be loose
 

Attachments

  • IMGP2916.JPG
    IMGP2916.JPG
    74.7 KB · Views: 1,888
  • IMGP2920.JPG
    IMGP2920.JPG
    74.8 KB · Views: 1,835
This is the tricky part, and why the masking tape is necessary. The headlight is slightly taller than the aperture it needs to come through.

if you have a friend or a neighbour ask them to lift up on the pod to give you a few more crucial millimetres of room to work with.

if you have no friends, or your neighbours hate you, then you'll just have to struggle by yourself :thumbsdow

Applying upward pressure to the pod, ease the top of the unit out first.
 

Attachments

  • IMGP2921.JPG
    IMGP2921.JPG
    64.4 KB · Views: 1,869
Whilst continuing to apply upward pressure to the pod you should now be able to ease the bottom of the unit over the bodywork. It's a very tight fit though :shocked:

once it's out twist off the bulb covers at the back of the unit which will allow you to pull it out a little further
 

Attachments

  • IMGP2923.JPG
    IMGP2923.JPG
    70.9 KB · Views: 1,860
There's 3 screws in elongated holes at the rear of the unit. In theory you can adjust these in situ but I found it was easier to remove the 4 headlight wires and adjust it on the garage floor.

Slacken off the screws and you can then twist the unit one way or the other, depending on which side of the road you are driving on.

First picture, with unit twisted anti-clockwise is for European(ie. right hand side) driving.

Second picture,with unit twisted clockwise, is for UK roads (i.e. left hand side of road)
 

Attachments

  • IMGP2932.JPG
    IMGP2932.JPG
    83 KB · Views: 1,821
  • IMGP2933.JPG
    IMGP2933.JPG
    76.8 KB · Views: 1,815
Apply reverse procedure for re-fitting, ensuring that top of headlight unit is placed into position under the pod first.

Lift the pod and ease the bottom of the unit into place.

Push headlight onto the 3 clips and they should just snap into place

Picture shows why you need to protect your paintwork :shocked:
 

Attachments

  • IMGP2934.JPG
    IMGP2934.JPG
    33.5 KB · Views: 1,762
Top