F
ferrari-spider
Guest
Tools needed are: 8mm,10mm,13mm,17mm sockets. Plilips screw driver. Jack
1/ Jack up the front of the car, i used 2 jacks.
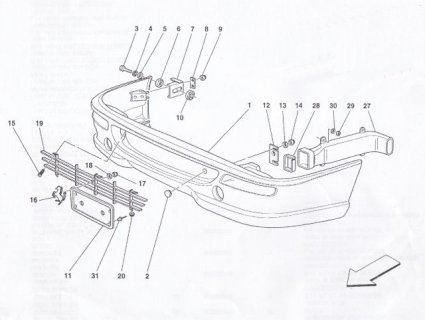
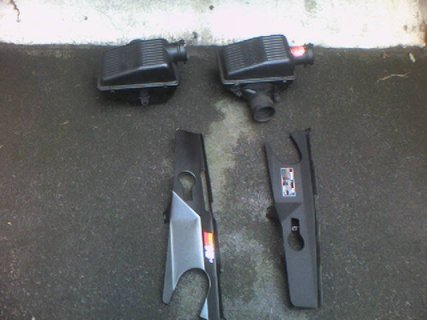
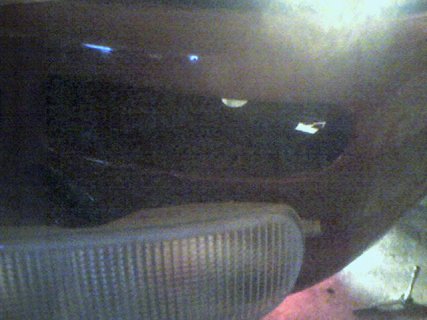
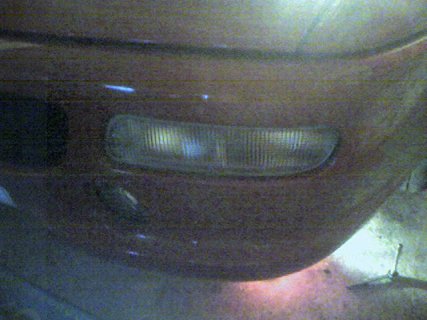
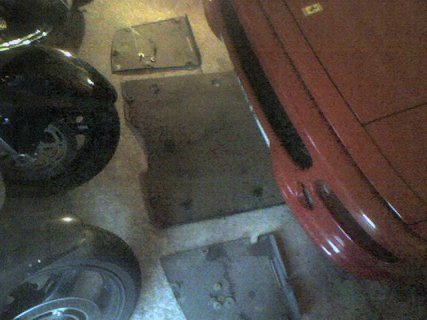
2/Remove the side light pods, this is held in with a sngle cross head screw.(pic 1&2) Disconect the two light wires at the rear.
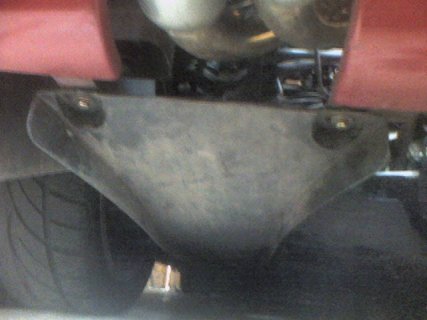
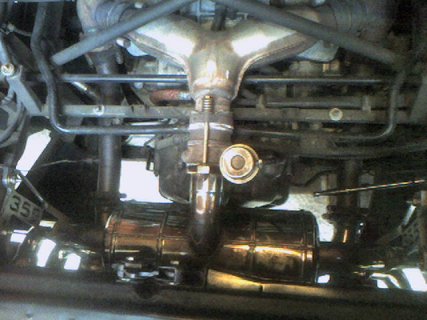
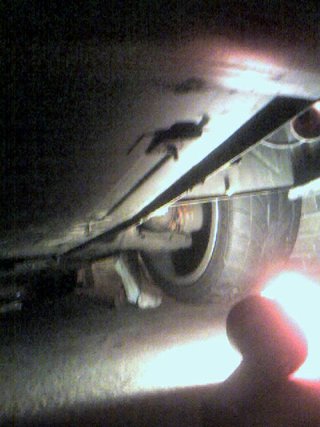
3/ Get under the front of the car and remove the 3 under trays, these are held on by bross head screws and 8mm nuts. (pic 3&4)
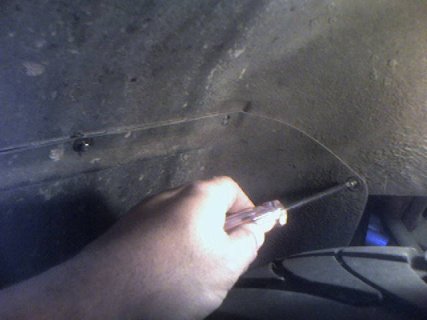
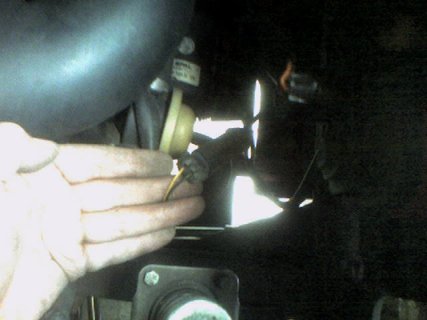
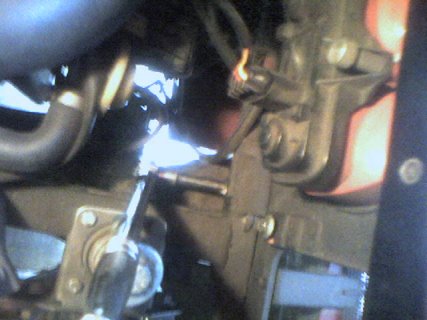
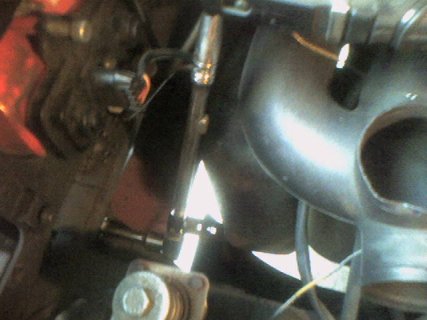
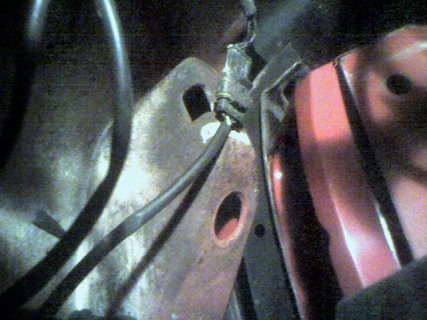
4/Looking up into one of the two corners from under the car disconect the round driving light conectors. Note on the N/S there is a electrical block that is held on with a screw to the inner of the bumper,(pic5)
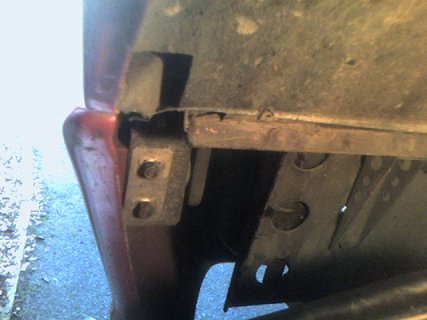
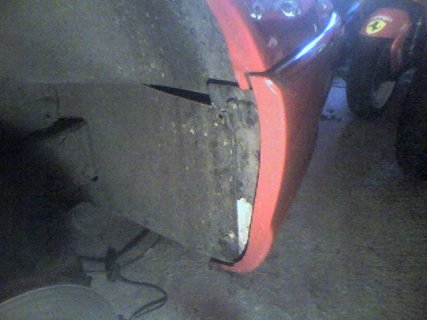
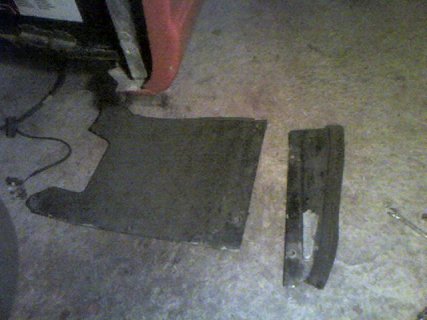
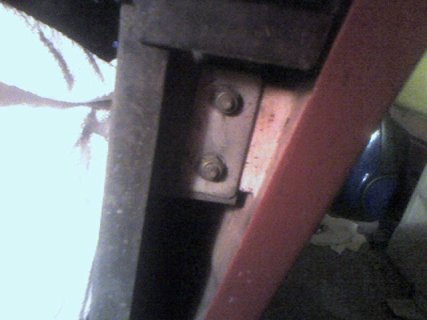
5/ Remove one of the wheels and remove the inner section (pic6) and remove the TWO small sections of pannels shown in (pic7) You can now see the two 13mm nut that hold the corner of the bumper (pic 8 & 9) Do this both sides. NOTE: The wheel does not have to come of, by jacking up the car there is room to undo the x2 screws and the x2 8mm nuts in the wheel arch to remove the inner pannel. Choice is yours.
6/ Lower the car back to the ground.
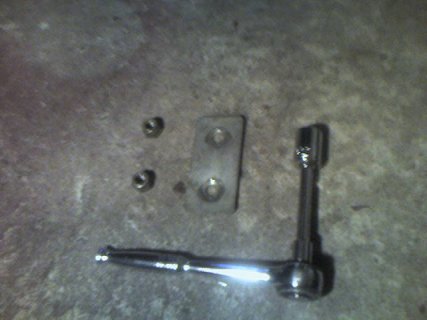
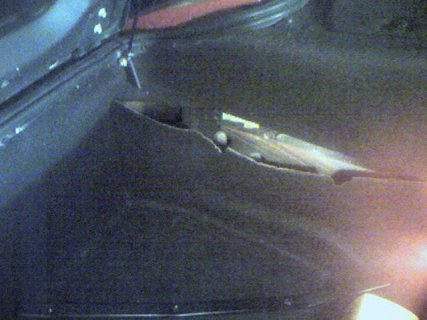
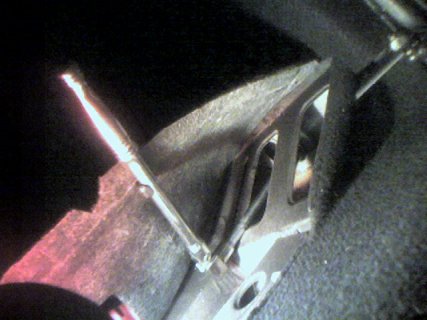
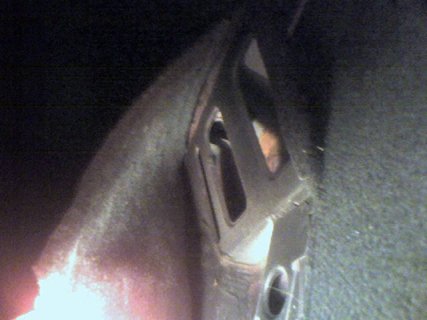
7/ Open the boot, and you will see the two black metal strips on each side of the boot. Take them of using thex3 screws. The (pic 10) shows one of the strips removed, reveling the carpet flap that is there to acsess the two 17mm nuts and round washers that hold the center on the bumper. Undo these two babys, (pic 11 & 12) Do this on both sides of the boot of course.
8/ The front bumper is now ready to be pulled away. You can take the bumper of using the two side light holes as hand holes and just pull away. Or if ya little like Sy (Angelis):grin: you may want to have a mate hold a corner with you as you remove it
9/ The round driving lights can now be removed from the inside of the bumper using the 3 nuts.
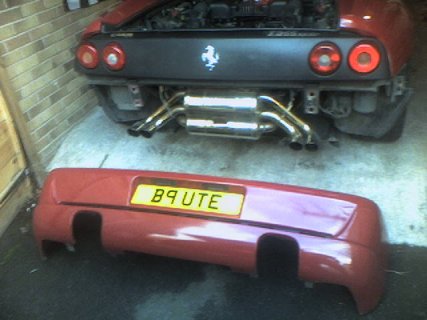
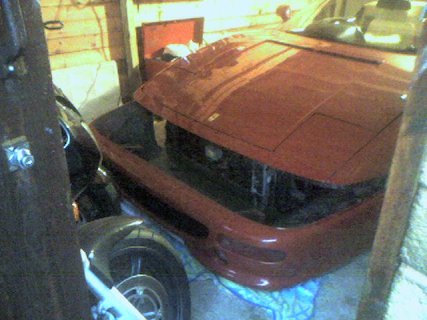
10/ Jobs a good un:thumbsup: (pic 10)
Notes: No carpet has to be removed, the two black metal strips ar to acsess the bumper nuts. Also the whole job took me one hour and 10 mins. That was my first time so next time it should take less than n hour easly. And the pictures were taken with a phone camera, sorry")
1/ Jack up the front of the car, i used 2 jacks.
2/Remove the side light pods, this is held in with a sngle cross head screw.(pic 1&2) Disconect the two light wires at the rear.
3/ Get under the front of the car and remove the 3 under trays, these are held on by bross head screws and 8mm nuts. (pic 3&4)
4/Looking up into one of the two corners from under the car disconect the round driving light conectors. Note on the N/S there is a electrical block that is held on with a screw to the inner of the bumper,(pic5)
5/ Remove one of the wheels and remove the inner section (pic6) and remove the TWO small sections of pannels shown in (pic7) You can now see the two 13mm nut that hold the corner of the bumper (pic 8 & 9) Do this both sides. NOTE: The wheel does not have to come of, by jacking up the car there is room to undo the x2 screws and the x2 8mm nuts in the wheel arch to remove the inner pannel. Choice is yours.
6/ Lower the car back to the ground.
7/ Open the boot, and you will see the two black metal strips on each side of the boot. Take them of using thex3 screws. The (pic 10) shows one of the strips removed, reveling the carpet flap that is there to acsess the two 17mm nuts and round washers that hold the center on the bumper. Undo these two babys, (pic 11 & 12) Do this on both sides of the boot of course.
8/ The front bumper is now ready to be pulled away. You can take the bumper of using the two side light holes as hand holes and just pull away. Or if ya little like Sy (Angelis):grin: you may want to have a mate hold a corner with you as you remove it
9/ The round driving lights can now be removed from the inside of the bumper using the 3 nuts.
10/ Jobs a good un:thumbsup: (pic 10)
Notes: No carpet has to be removed, the two black metal strips ar to acsess the bumper nuts. Also the whole job took me one hour and 10 mins. That was my first time so next time it should take less than n hour easly. And the pictures were taken with a phone camera, sorry
Attachments
-
 2light.jpg48.7 KB · Views: 1,520
 -
 1 light.jpg49.8 KB · Views: 1,556
 -
 3under tray.jpg46.2 KB · Views: 1,512
 -
 4under tray.jpg49.2 KB · Views: 1,527
 -
 5 electrical.jpg56.9 KB · Views: 1,526
 -
 6wheel arch.jpg40.4 KB · Views: 1,561
 -
 7wheel arch pices.jpg45.6 KB · Views: 1,513
 -
 8whel arch bolts.jpg33.2 KB · Views: 1,515
 -
 9nuts and square.jpg33.7 KB · Views: 1,494
 -
 10 boot carpet.jpg51.1 KB · Views: 1,526
 -
 13 jobs a good un.jpg53.6 KB · Views: 1,517
 -
 12 boot bolt holes spanner.jpg45.7 KB · Views: 1,514
 -
 11 boot bolt hoes.jpg38.5 KB · Views: 1,494